
From idea to prototype
Start with a question you can answer through observation. Build a model clear enough for someone to try.
A paper stand for a postcard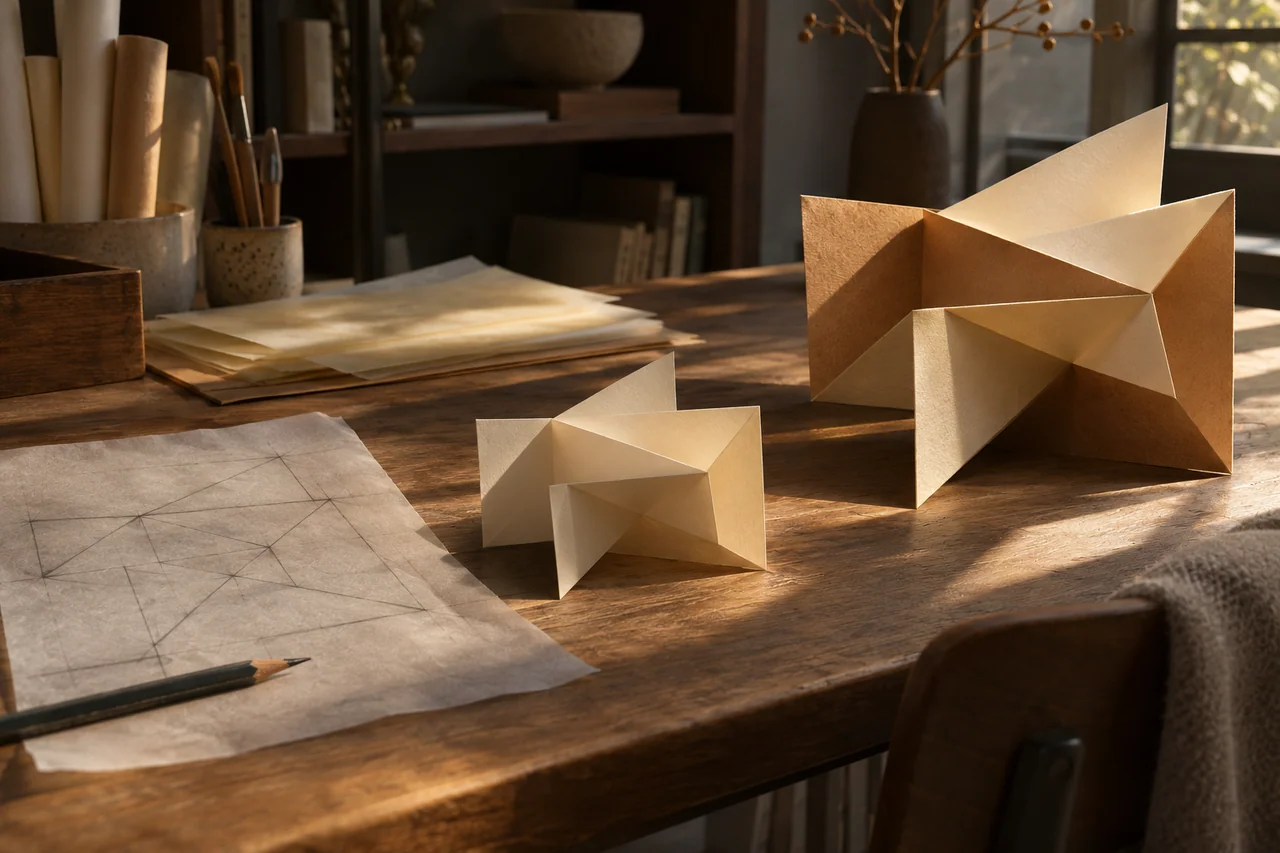
Build around the question
For the materials table, ask where the label should go so someone can find and return the scissors without help. A box, scissors and two marked positions are enough to compare.
- Paper sketch
- Show the layout and see whether the person can find their way.
- Full-scale mock-up
- Use boxes and objects to watch how people find, handle and use them.
- Walk through the steps
- Lay out the steps on cards to test the sequence and instructions.
Test with a clear task
Invite people who would use the solution and ask for their consent. Have each try just one option at first. Keep the materials and instructions consistent across sessions.
- Give them the task
- Ask the person to find the scissors and leave them for the next participant.
- Watch what they do
- Note where they look first, what they open, whether they ask for help and where they leave the scissors. Time the task if it is part of your criterion.
- Ask at the end
- Ask what led them to choose that spot. Keep their explanation separate from what you observed.
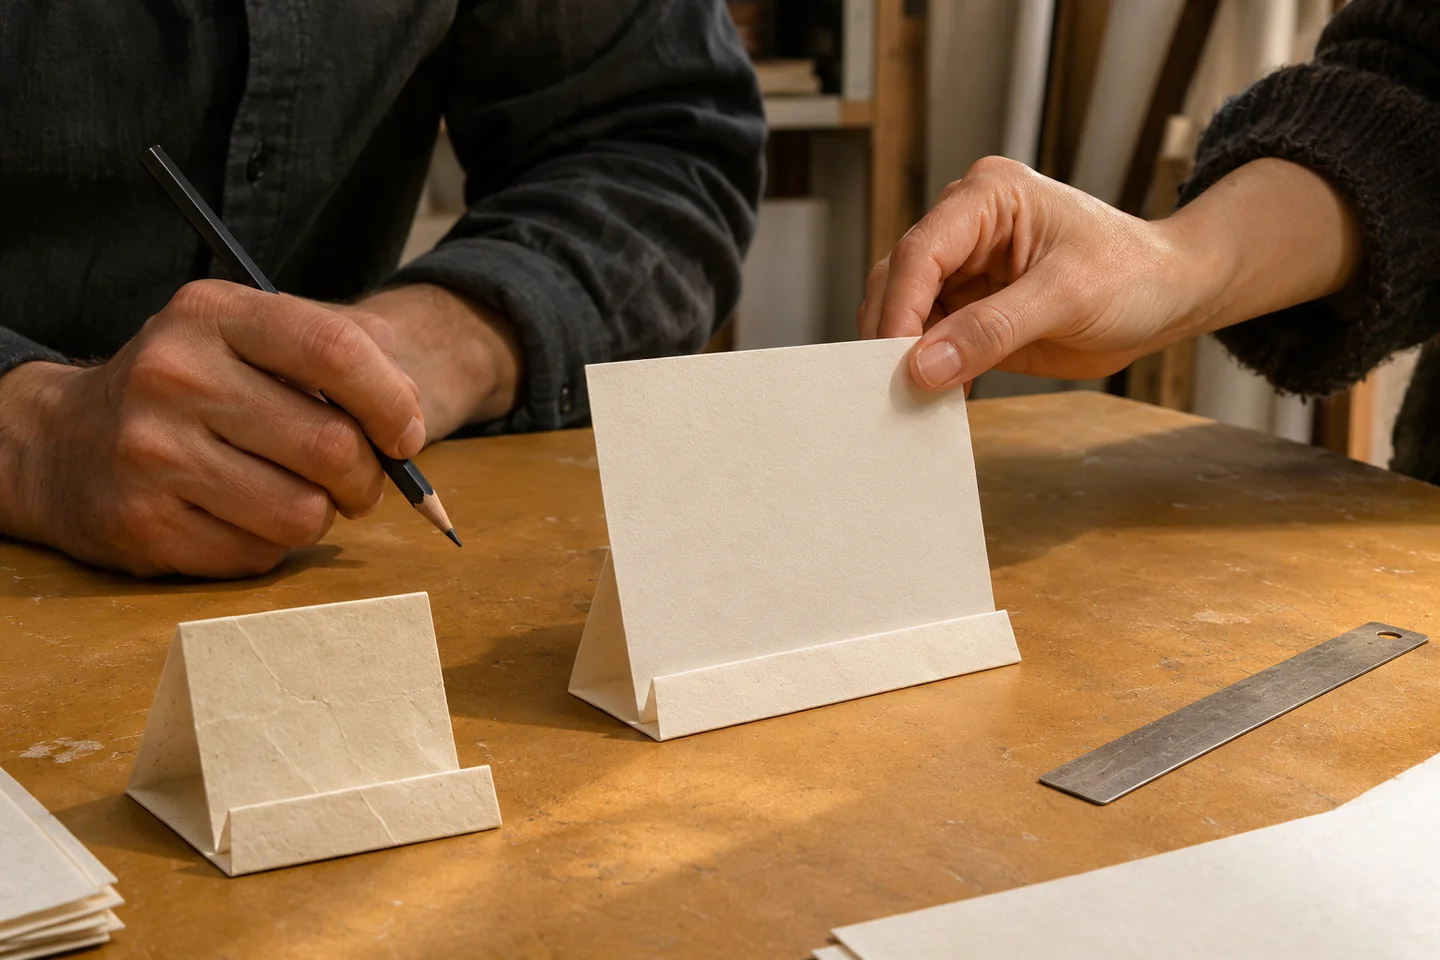
A paper stand for a postcard
How tall should the front stop be to prevent slipping and keep the image visible? Compare two versions on the same stand.
-
Fold the body of the stand
Cut a base of about 8 × 6 cm and an 8 × 9 cm backrest from thin card. Use a strip folded into a triangle to hold the backrest at an angle. Attach an L-shaped strip at the front, short side up.
-
Change the height of the stop
Prepare two strips from the same card with the same width and depth where they attach to the base. The stop is 5 mm in A and 12 mm in B. Place each strip in the same spot.
Option A5 mm stop
Option B12 mm stop
-
Place, release and observe
Use the same card, table and position. Place the card, withdraw your hand and wait 10 seconds. Then lift it with one hand. Compare slipping, stability and how much of the image remains visible.
-
Choose after the trial
If both pass, keep the lower stop. If B prevents slipping but hides an important detail, test an intermediate height. If the stand tips in both trials, test the base separately.
Decide what to change
- Keep the version
- If the result meets the criterion, check it again in a new setting.
- Revise the model
- If the same difficulty recurs, change one thing related to what you observed and repeat the trial.
- Observe again
- If the difficulty occurs at a different step, return to the original situation and update the question.
How it fits into the group method
The guide and workbook address questions from the early stages of the Mountappsol method. The process continues through development of the offer, the operating system and brand launch.
- Understand the problem
Observe the situation and describe the difficulty a solution should address.
- Identify solutions
Compare feasible approaches and choose what to try first.
- Validate the core idea
Set up a trial that can test your hypothesis.
- Design the structure
Use your observations to decide how the solution should be organised and what to do next.
- Develop products and services
The group refines the offer in light of market requirements.
- Consolidate the system
The group integrates processes and operational components.
- Launch and formalise
The group prepares the identity, registration and launch of the brand.